Add connections to a product
A connection links your product to a supplier's product — showing where each part, material, or component comes from in your supply chain. This guide walks you through adding connections manually.
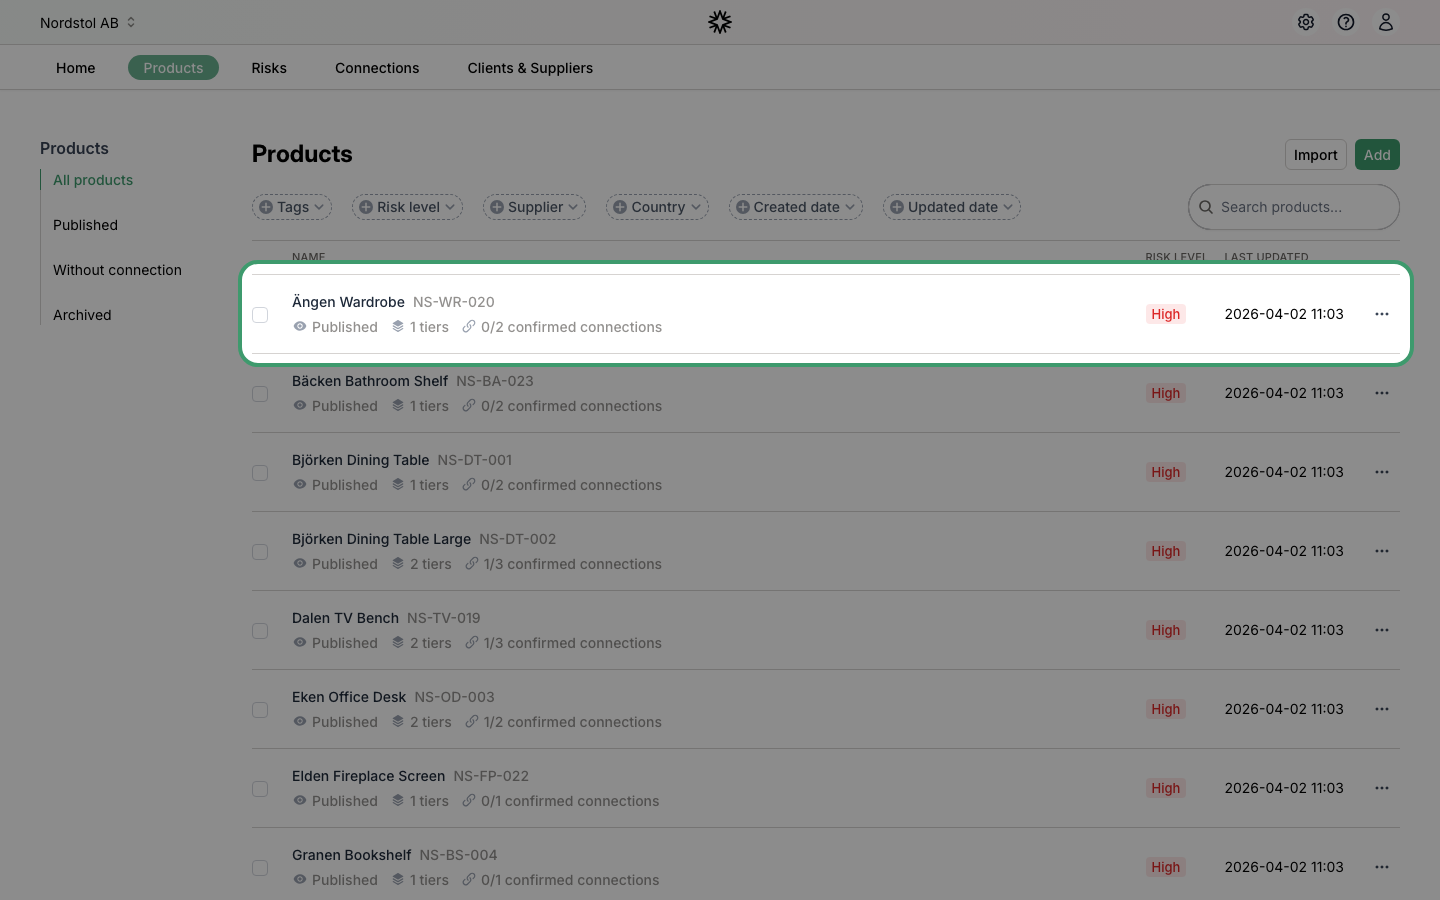
Navigate to your product
Go to the "Products" page and click the product you want to add a connection to.
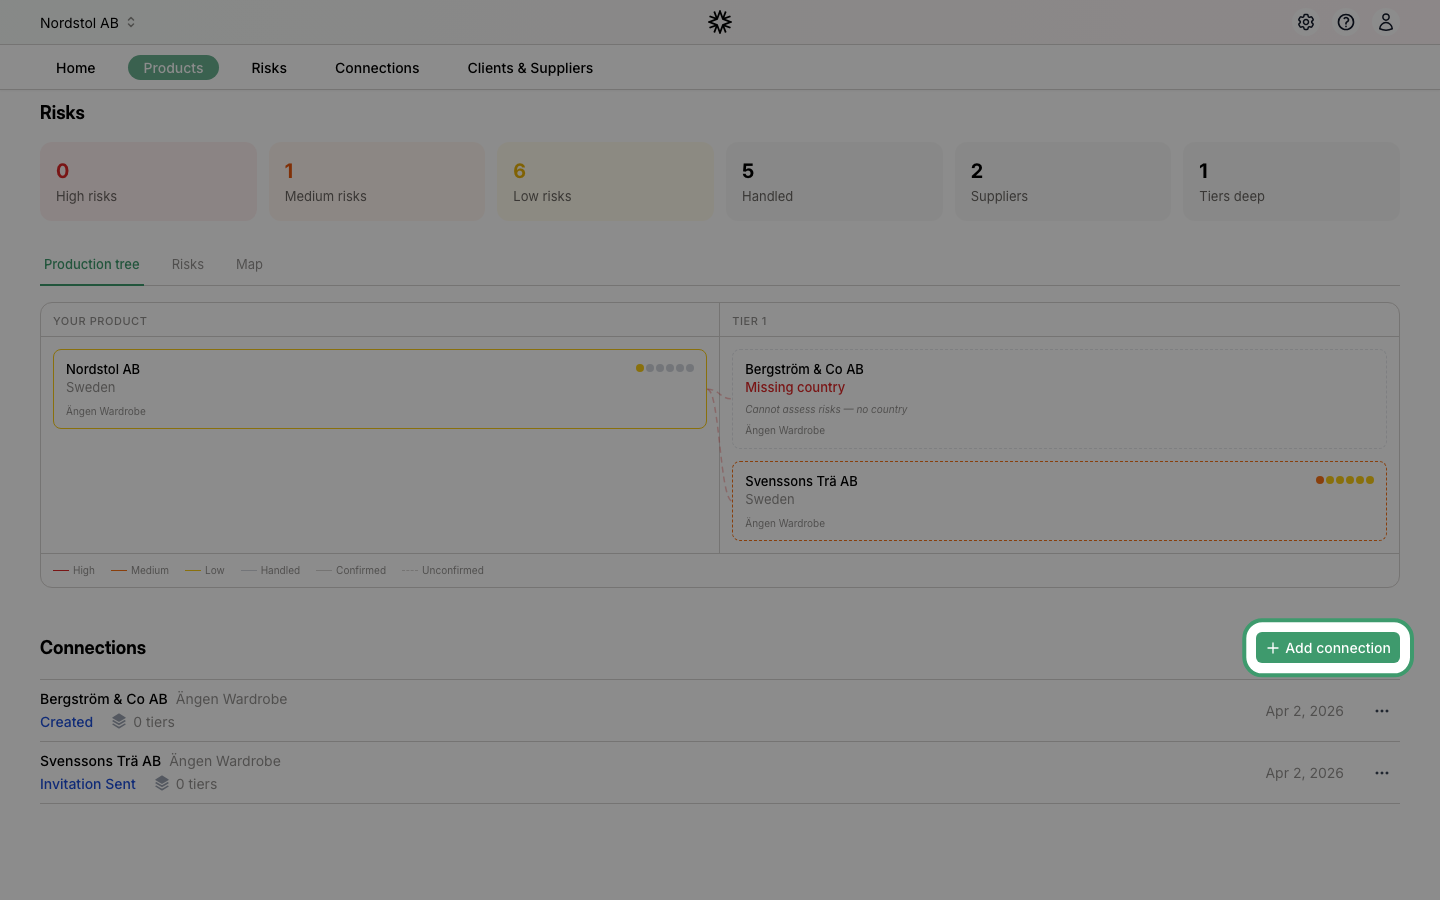
Click "Add connection"
On the product detail page, scroll down to the "Connections" section and click "Add connection".
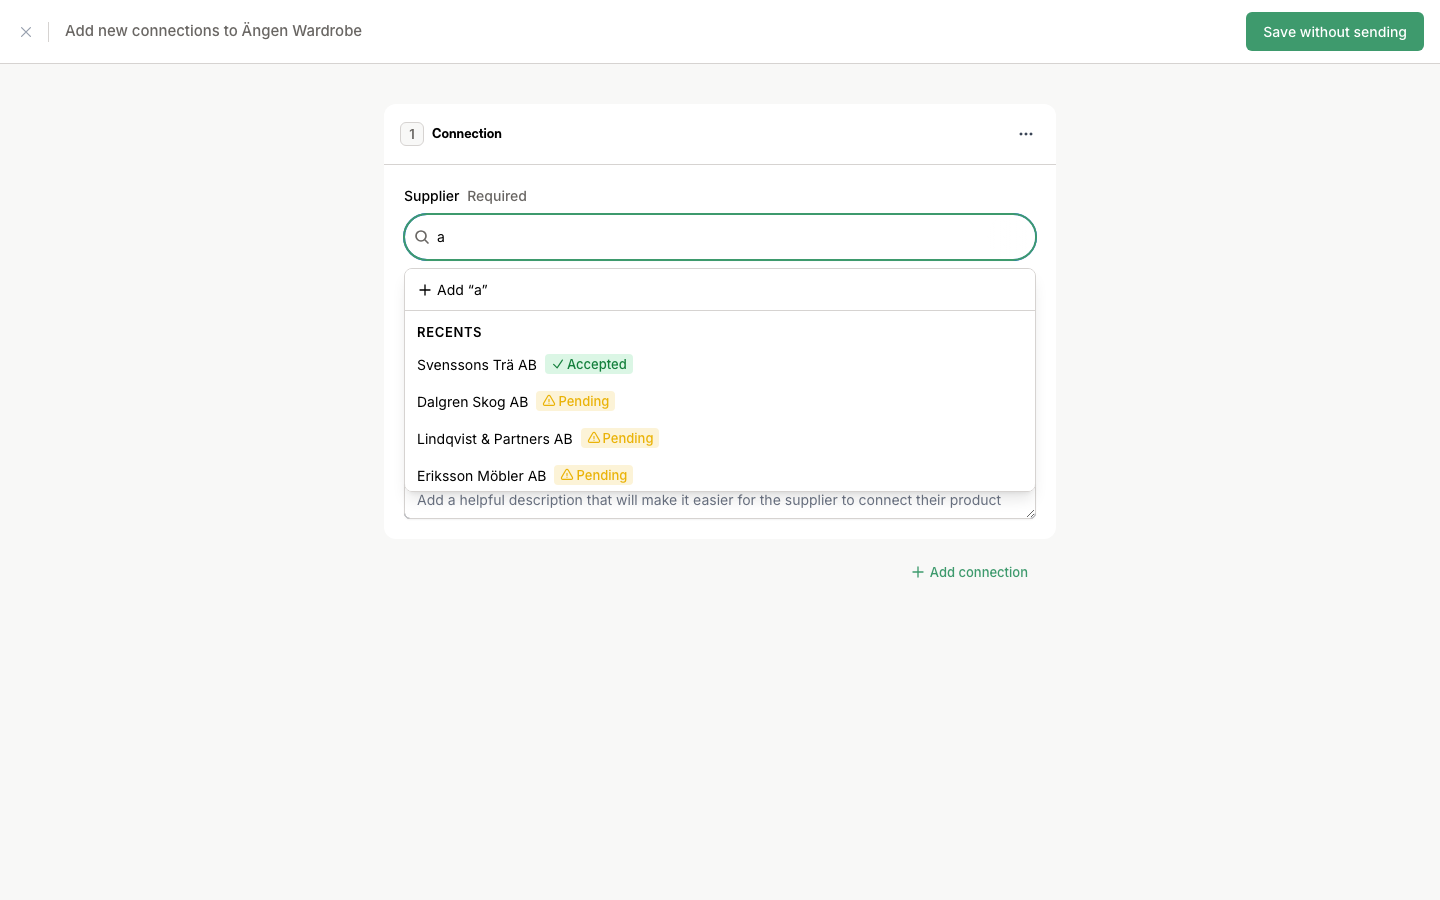
Search for a supplier
Start typing the name of the supplier you buy this product from. A dropdown will appear with matching suppliers. If the supplier is not in the list, you can add a new one directly from here.
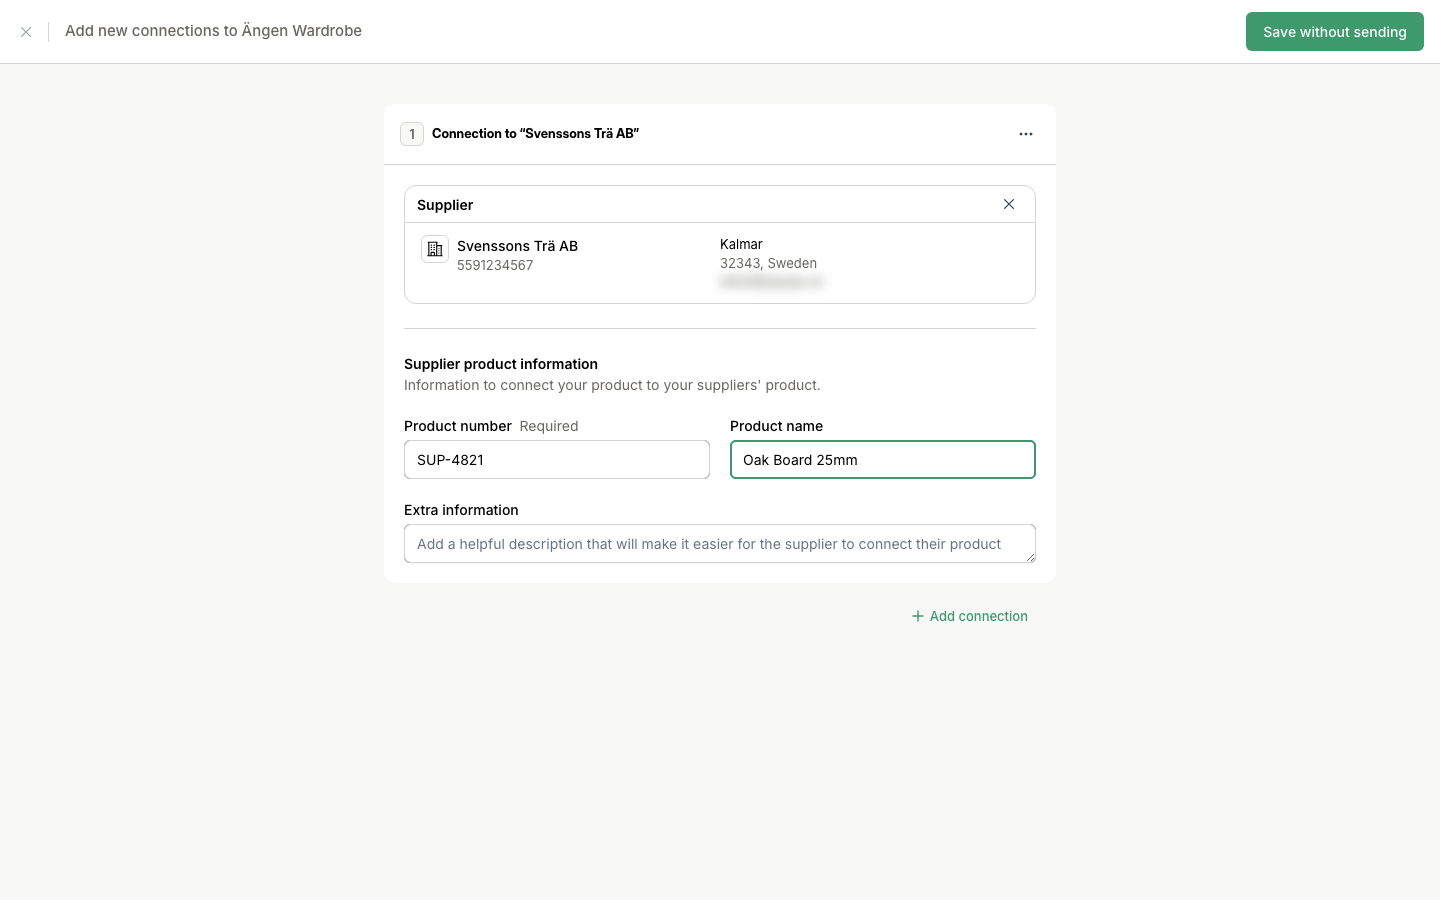
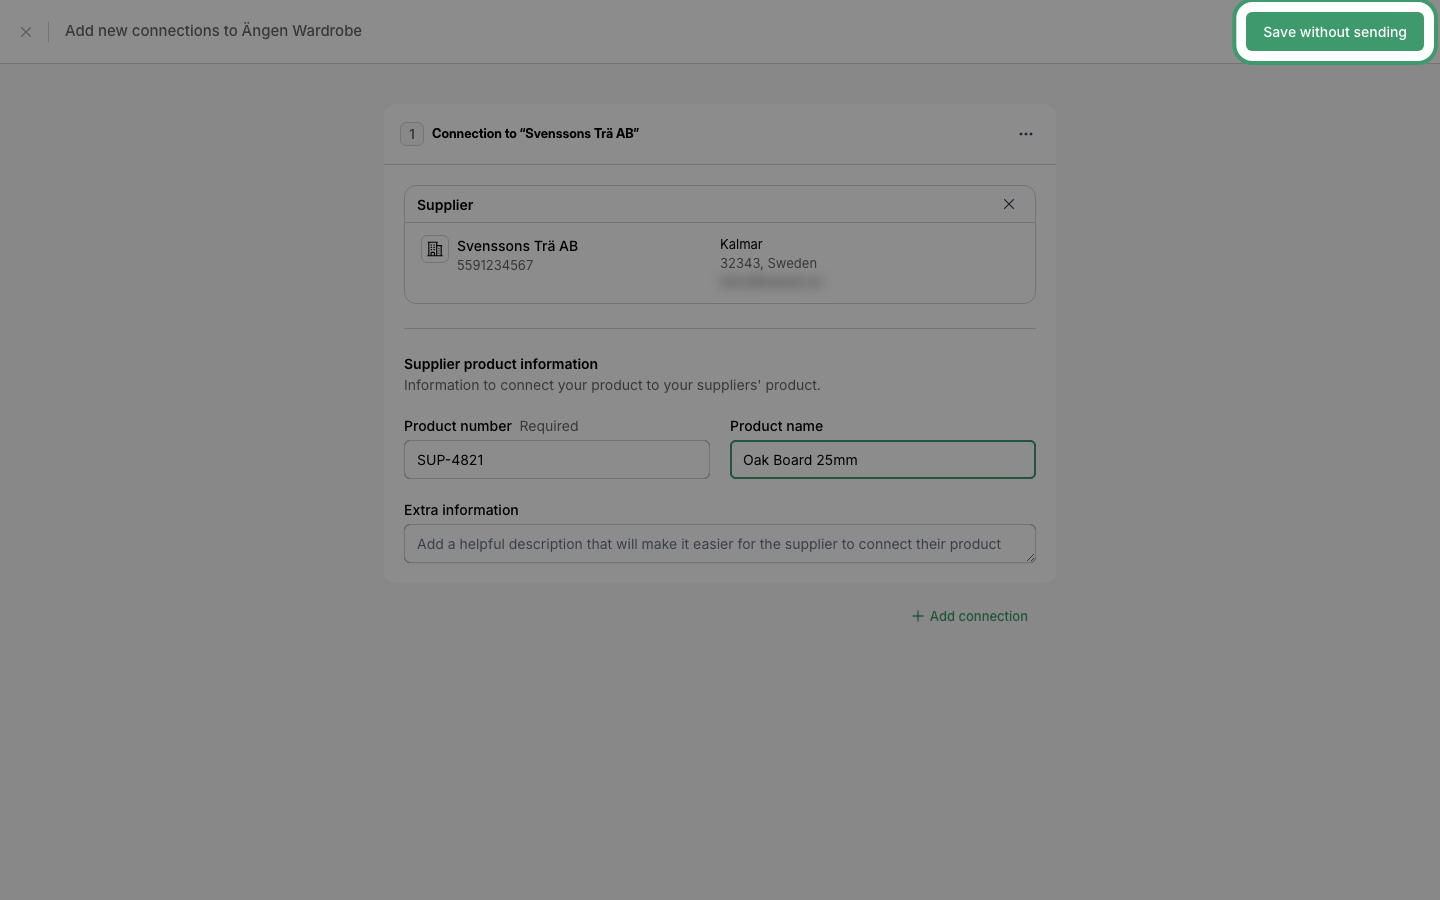
Fill in connection details
After selecting a supplier, fill in the product number you use when ordering from this supplier. You can also add a product name and extra information to help the supplier identify the correct product.
Add multiple connections
If your product is assembled from multiple parts or materials, click "+ Add connection" at the bottom of the form to add more connections to the same product.
Save the connection
When you are done, click "Save without sending" to save the connection without notifying the supplier yet. This lets you review everything before sending.
Send connections to suppliers
Once saved, your connections appear on the "Connections" page with "Not sent" status. Navigate to "Connections" in the top menu and click "Not sent" in the sidebar to see all unsent connections.
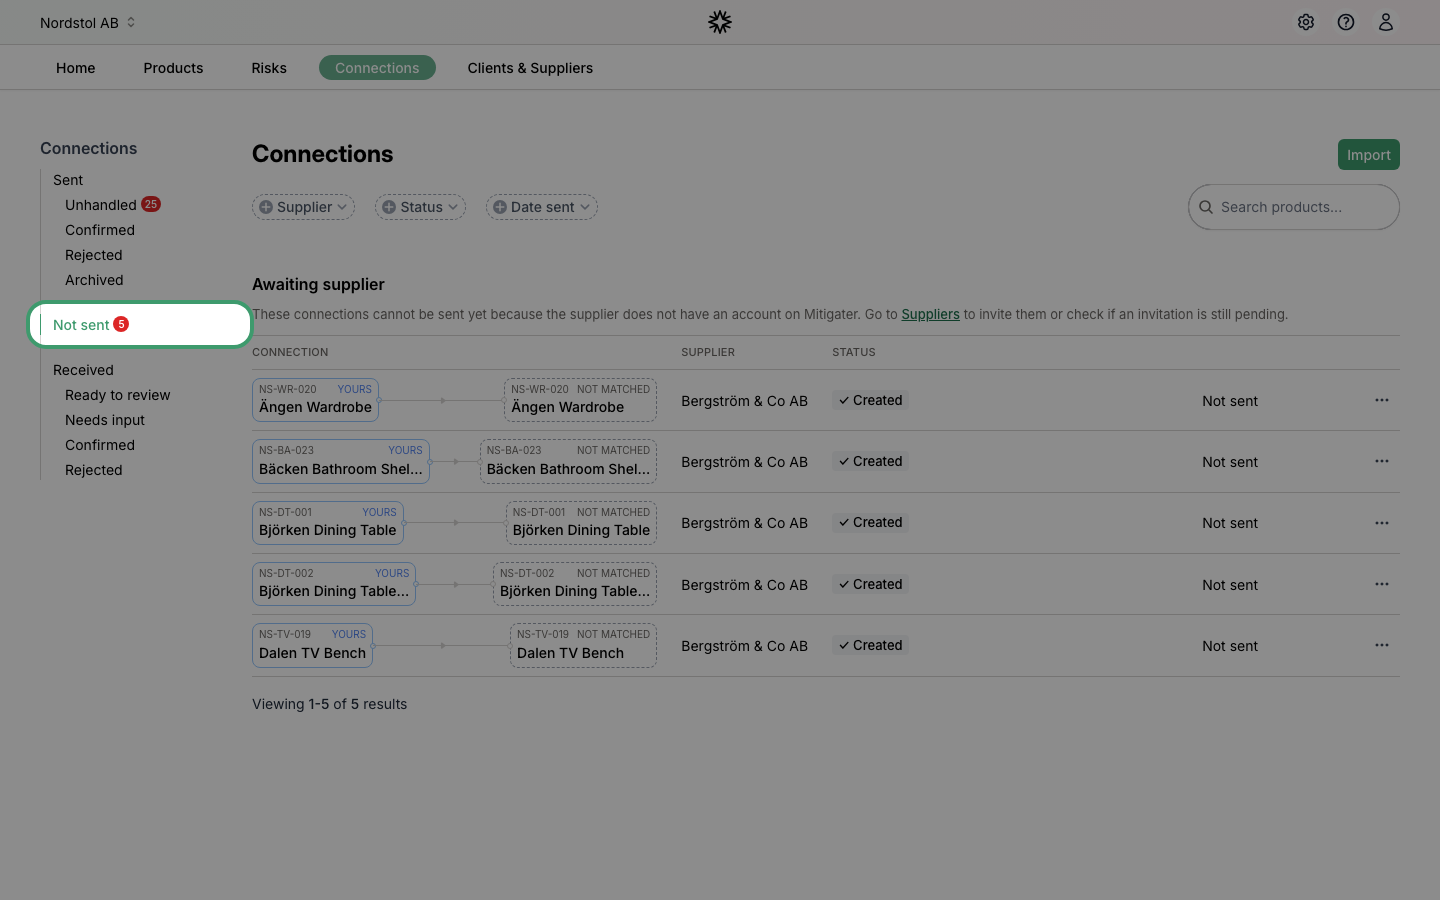
From here you can send connections to your suppliers in two ways:
- Single: Click the three-dot menu on a connection row and select "Send to supplier".
- Bulk: Use the checkboxes to select multiple connections, then click "Send to suppliers" in the action bar that appears at the bottom of the page.
What happens next
After sending, your supplier receives a notification and can confirm the connection. Once confirmed, the supplier and their risk data appear in the production tree on your product detail page.
Next step: Learn how to invite your suppliers.