First steps
This guide walks you through setting up your company in Mitigater. Follow these steps to create your company profile, add locations, upload certificates, and invite colleagues.
Sign up
To create your Mitigater account, fill in the required fields on the sign-up form:
- Email: Your work email address.
- First Name and Last Name.
- Job Title: Your role within the organisation.
- Password: Choose a secure password and confirm it.
Review and accept the Terms & Conditions, then click Create Account to complete your registration.
Create a new company
After signing up, you will be guided through the onboarding flow to create your company. If you already have an account, you can add another company from your profile page by clicking "Add company".
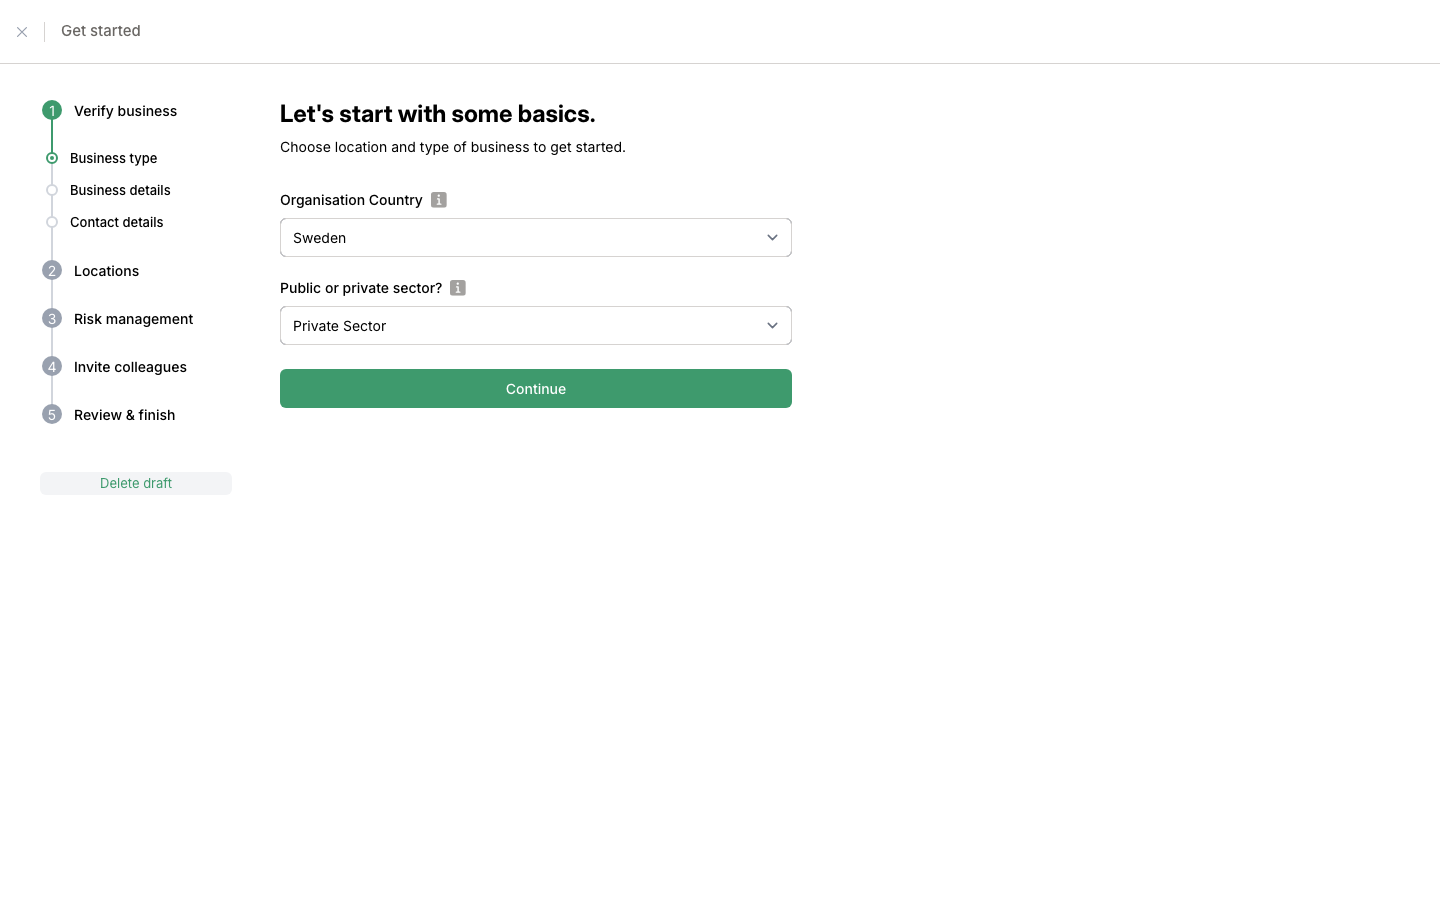
Step 1: Choose country and business type
Start by selecting the country where your company is headquartered and whether it operates in the public or private sector.
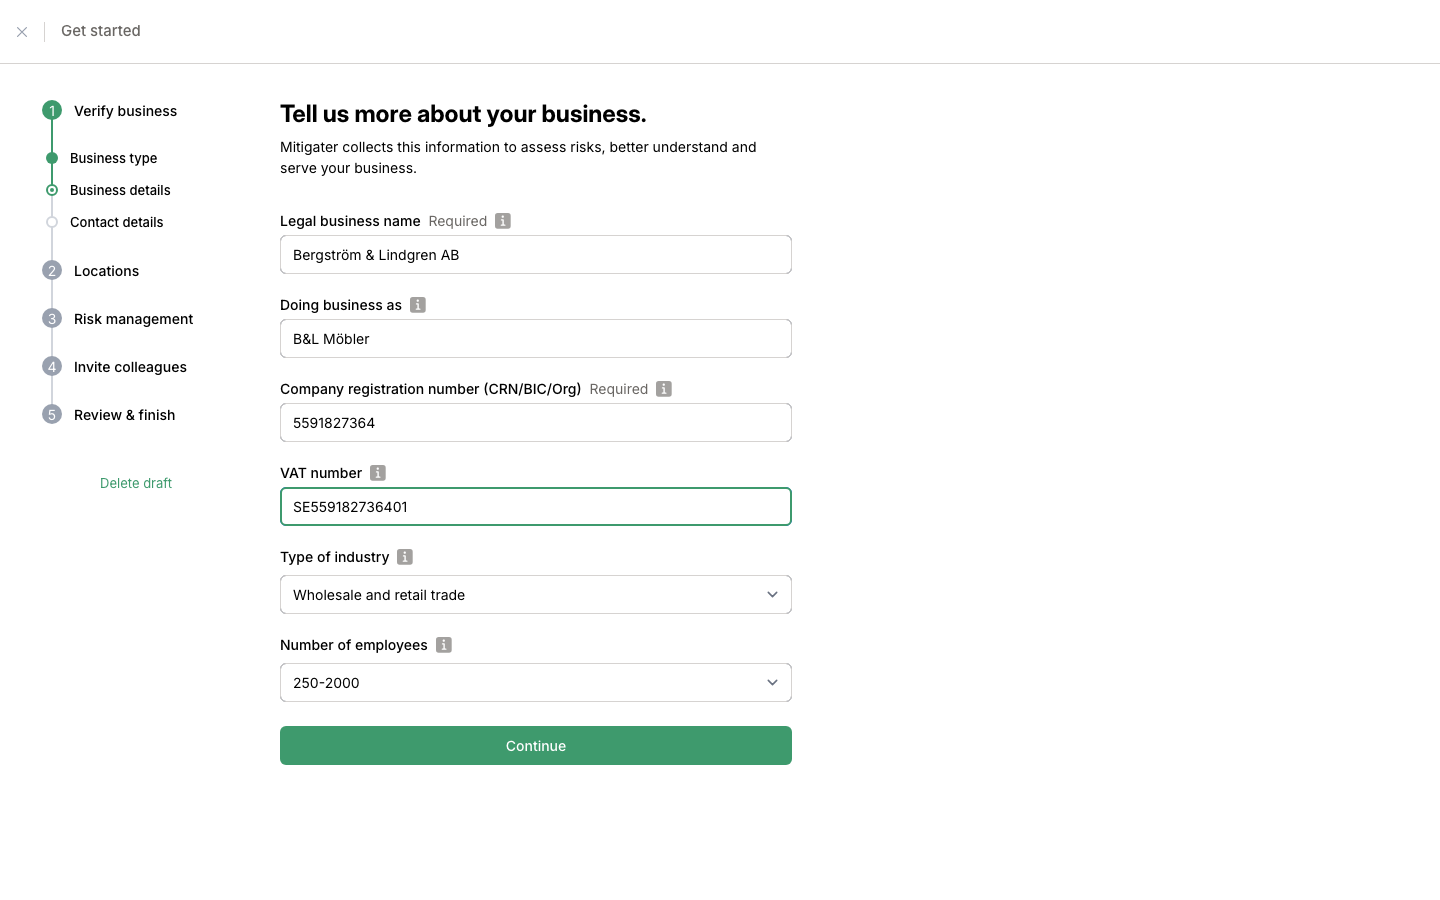
Step 2: Enter business details
Fill in your company's legal information:
- Legal business name (required) — the official name your company is registered under.
- Doing business as — the name your company commonly uses, if different.
- Company registration number (required) — your CRN, BIC, or organisation number.
- VAT number — if your company is VAT-registered.
- Type of industry and Number of employees.
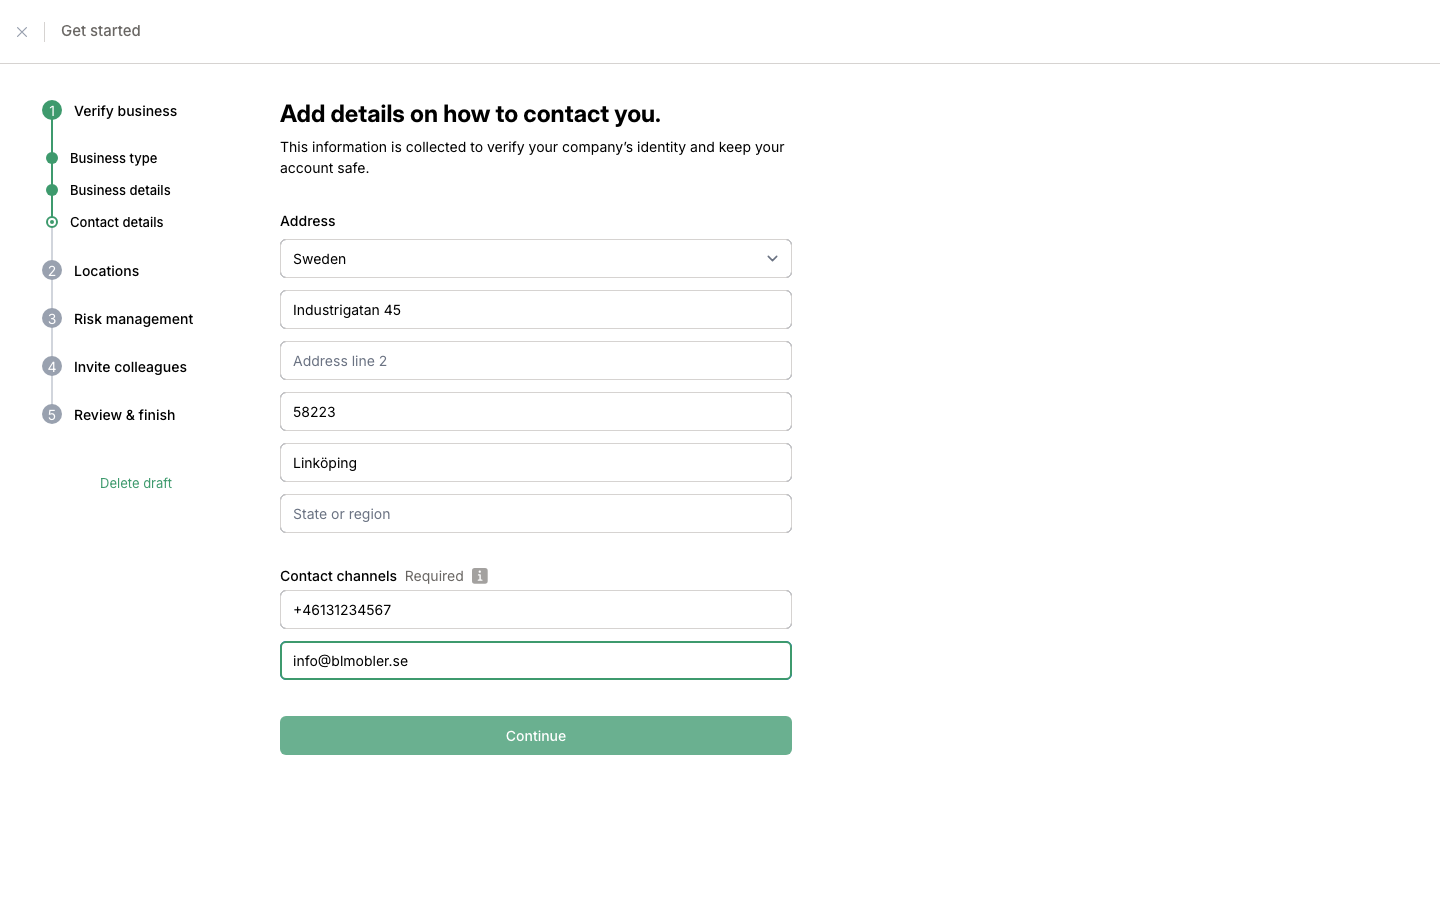
Step 3: Add contact details
Provide your company's address, phone number, and email. This information is used to verify your company's identity.
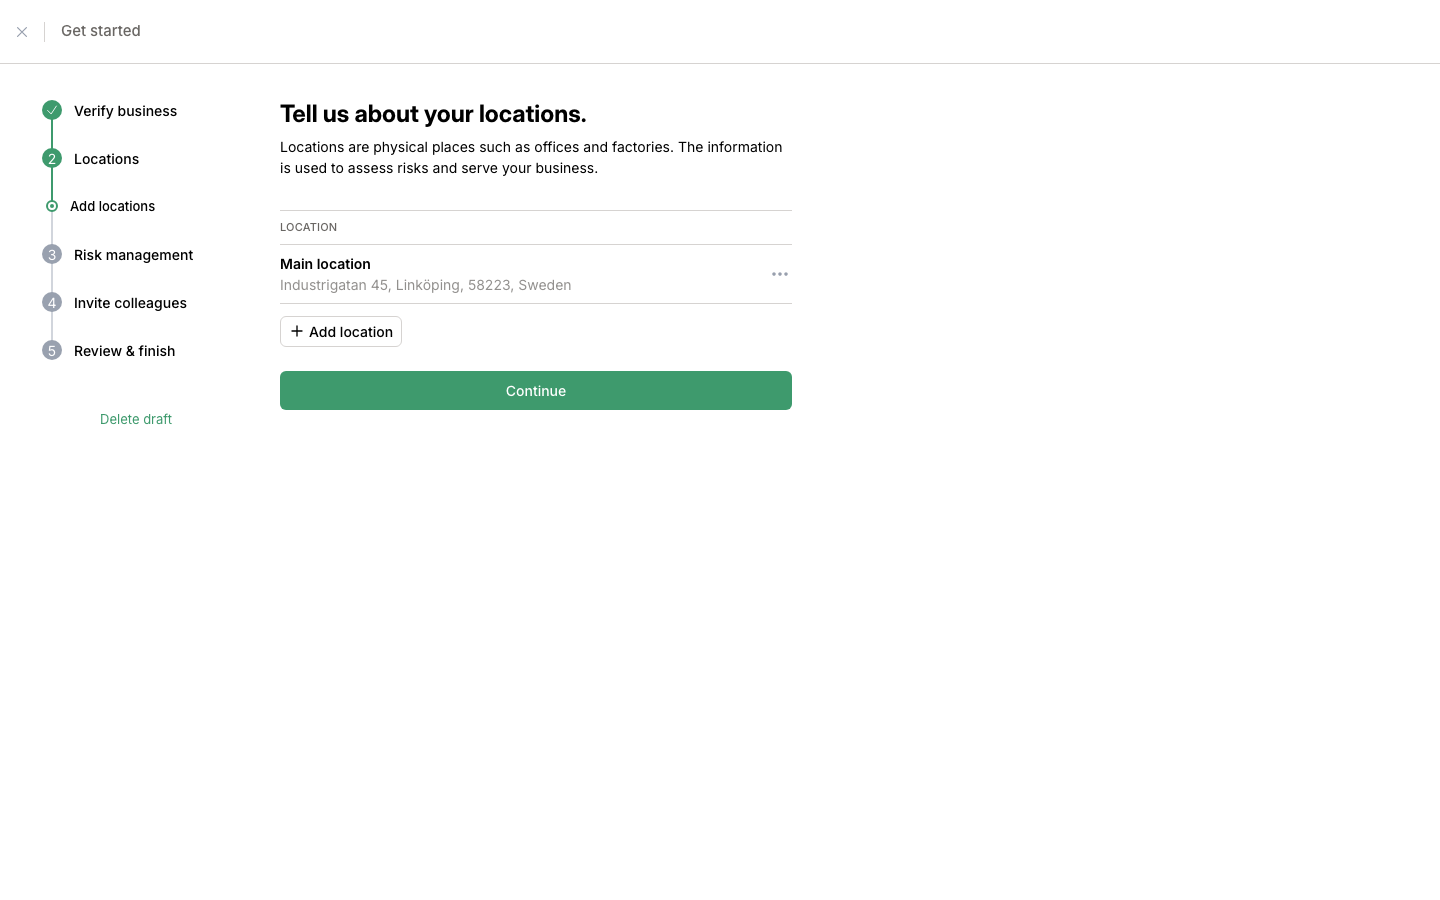
Step 4: Add locations
Your main location is created automatically from the address you entered. You can add additional locations such as factories, offices, or warehouses. Each location is used for risk assessment.
Step 5: Add certificates
Upload your company's certifications to document how you handle risks. For each certificate, you can set an expiry date and link it to specific locations. As you add certifications, the corresponding risk areas will be marked as mitigated.

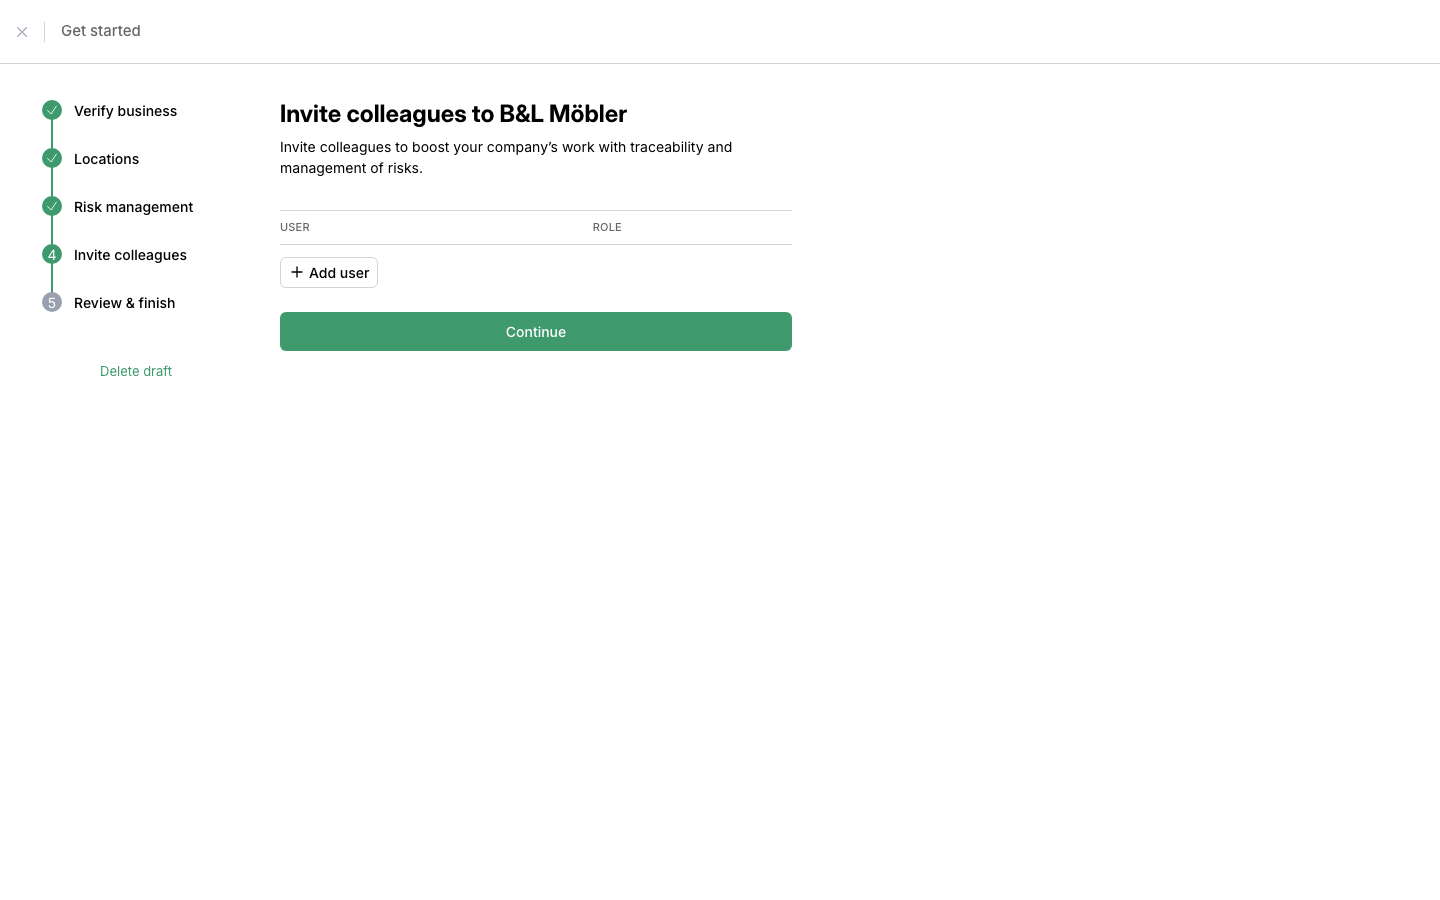
Step 6: Invite colleagues
Add colleagues so your team can work together in Mitigater. For each colleague, provide their email, name, job title, and role.
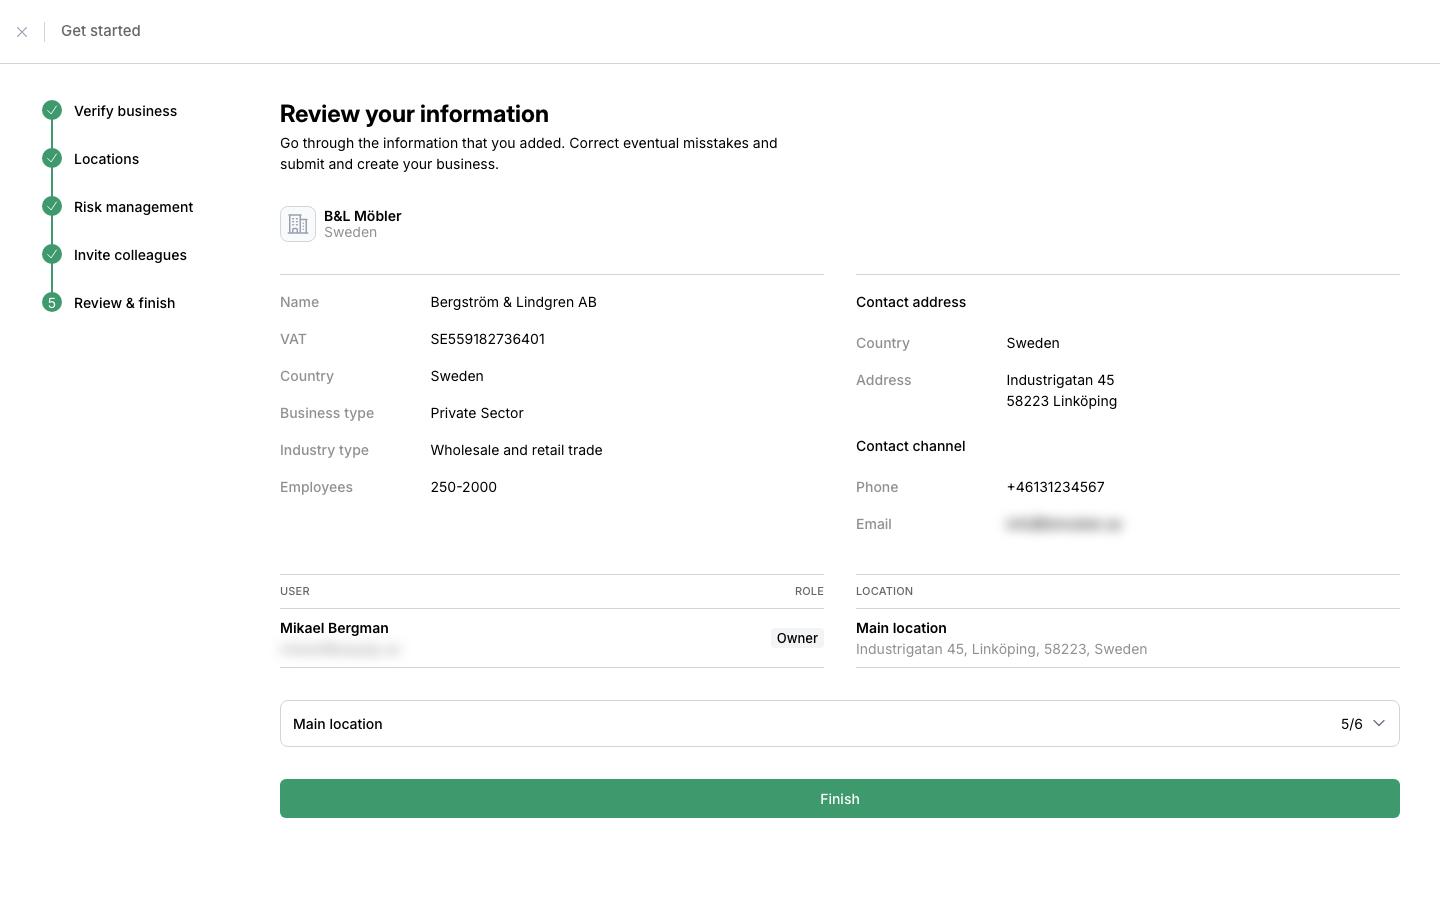
Step 7: Review and finish
Review all the information you have entered. If everything looks correct, click "Finish" to create your company. Your company will be verified by the Mitigater team before you can access all features.
Been invited by a client?
Next step: Accept an invitationIf not — it is time to import your products:
Next step: Import your products